
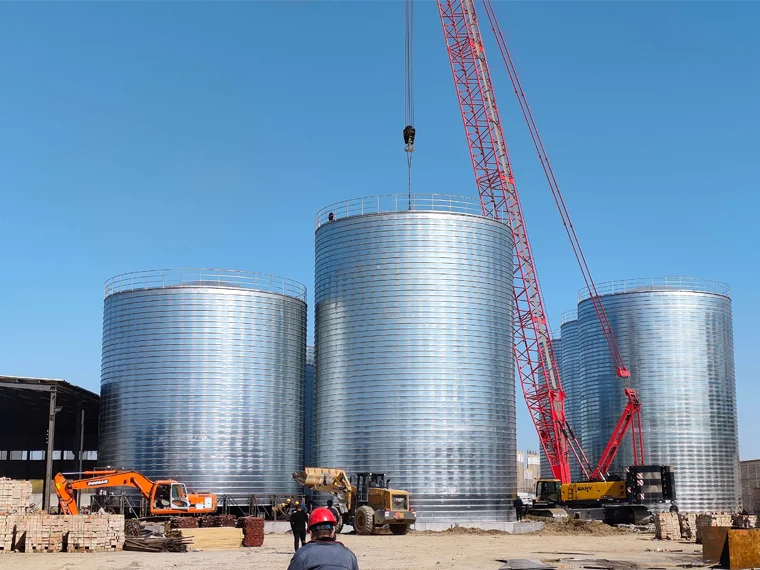
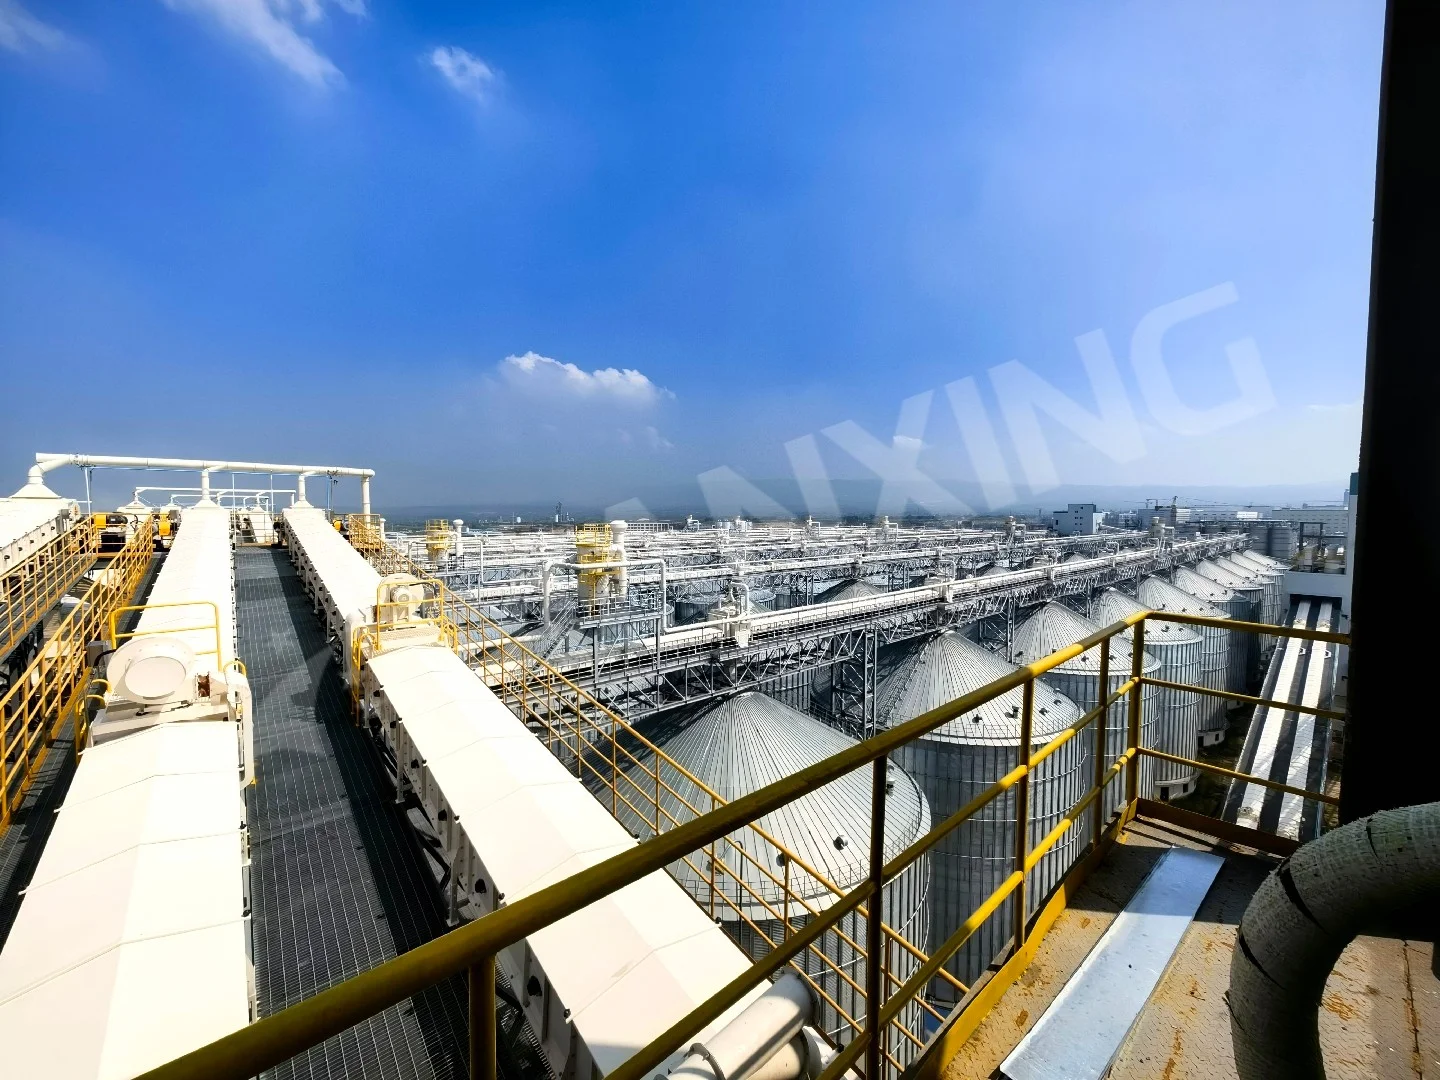


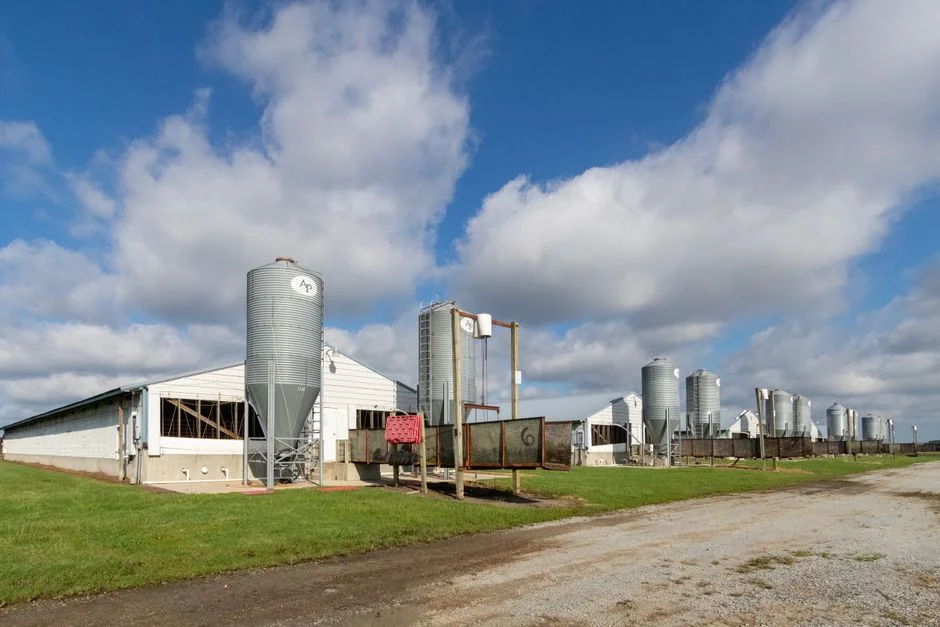
Over 40% of imported silo component failures traced back to poor inspection at origin, not design flaws. A structured quality assurance program cuts field rework by 60% and extends service life by 8–12 years. Here’s what actually works when you’re receiving steel silo parts from overseas.
Key Takeaways
- Core Data Point: Third-party inspection at the factory catches 73% of dimensional and welding defects before shipment.
- Best Practice: Implement a three-stage inspection: mill test, pre-shipment, and arrival. Each stage has a specific checklist.
- Risk Alert: Galvanized coating thickness below 85 microns in corrosive environments leads to rust perforation within 5 years. Verify with magnetic gauge on random samples.
Three-Stage QA for Imported Silo Components
Let’s cut through the noise. You’re not inspecting parts for the sake of paperwork—you’re preventing a catastrophic collapse or a costly shutdown. The most effective approach is a three-stage program that starts at the steel mill and ends when the last bolt is torqued on site.
Stage 1: Mill Test Certificate (MTC) Verification. Every steel coil or plate used for silo wall sheets must come with a valid MTC. But don’t just file it—check the yield strength (minimum 250 MPa for typical grain silos), elongation (≥20% in 200mm gauge length), and carbon equivalent (CE ≤0.45 for weldability). We’ve seen cases where the MTC said “Grade 350” but the actual plate bent at 290 MPa. A portable tensile tester on a sample coupon costs less than $200 per test and saves a whole silo.
Stage 2: Pre-Shipment Inspection (PSI). This is where you catch the expensive stuff. A professional manufacturer should allow your inspector (or a third-party agency like SGS or Bureau Veritas) into the factory. The PSI checklist must cover: bolt hole alignment on lapped joints (tolerance ±1.5mm over 12m length), galvanized coating thickness (minimum 85 microns per ASTM A123), and weld seam quality on stiffeners. We once flagged a batch of hopper bottom panels where the bolt holes were off by 4mm—that would have meant drilling on site, weakening the structure. The supplier reworked them at their cost.
Critical Inspection Points for Welded and Bolted Joints
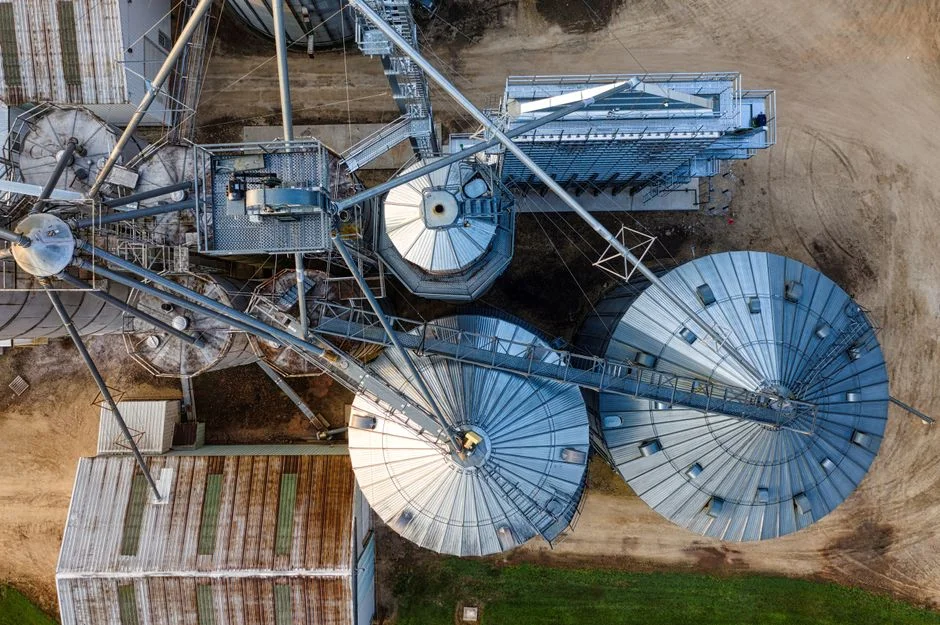
Bolted silos rely on joint integrity for structural stability. A single loose or misaligned connection can cause uneven load distribution, leading to buckling under full grain load. Here are the parameters you must verify before assembly.
Bolt hole pattern and edge distance
For 16mm diameter bolts (common in 4.5m diameter silos), the minimum edge distance should be 24mm (1.5x bolt diameter). Center-to-center spacing should not exceed 200mm on vertical seams. Use a template gauge—don’t rely on tape measures. We’ve seen holes punched at 210mm spacing, which reduces shear capacity by 12%.
Weld quality on internal stiffeners
Stiffeners welded to the silo shell must have full penetration welds with no undercut deeper than 0.5mm. A simple dye penetrant test on 10% of welds is cheap and reveals cracks invisible to the naked eye. On a recent 30m diameter flat bottom silo, this test caught 7 hairline cracks in wind ring welds—none would have survived the first major storm.
Incoming Inspection: What to Check When the Container Arrives
The container lands at your port or site. Don’t just sign the delivery note. You have a short window (typically 7–14 days in the contract) to reject non-conforming parts. Here’s the practical drill: open every third crate, photograph the packing condition, and measure critical dimensions on a random sample. For curved wall panels, check the radius with a template cut to the design radius—deviation over 3mm on a 2m panel means the panel won’t fit the jig. Check rubber sealing strips for UV damage; if they’ve been sitting in a container for 8 weeks in tropical heat, the rubber can harden and lose 40% of its compression set. Replace them before erection.
Also, verify the quantity of high-strength bolts. A 10,000-tonne silo can require 8,000–12,000 bolts. If 5% are missing or wrong grade (e.g., 8.8 instead of 10.9), you’re looking at a week delay and a safety risk. Keep a torque wrench calibrated to ±3% accuracy for random checks on arrival—bolts that don’t meet the specified torque-tension relationship must be rejected.
Frequently Asked Questions
Q: Can I rely on the supplier’s own inspection report, or do I need a third party?
A: Never rely solely on the supplier’s report. In our experience, internal reports miss 20–30% of defects because the factory’s inspectors are under pressure to ship. A third-party agency costs 0.5–1.5% of the component value but catches issues that would cause 5–10x that in field rework. Always contract for independent inspection.
Q: What is the most commonly overlooked defect in imported silo panels?
A: Dimensional drift on bolt hole patterns—specifically, the cumulative error over long panels. A single panel might be within tolerance, but when you bolt 12 panels together, the error adds up. We recommend checking a full ring (not just one panel) during PSI. Use a full-scale template or laser tracker.
Q: How do I handle a batch of panels that fails the coating thickness test?
A: Reject them immediately. Galvanizing cannot be “touched up” to the same standard—any repair will have lower corrosion resistance. The supplier must re-galvanize or replace. Document everything with photos and a calibrated thickness gauge report. Most contracts allow rejection if more than 5% of samples fall below the minimum.
Q: What’s the best way to test weld quality on site without expensive equipment?
A: Visual inspection plus a dye penetrant kit. Clean the weld area, apply penetrant, wait 10 minutes, apply developer. Cracks show as red lines. This finds surface-breaking defects reliably. For critical welds (wind rings, stiffener attachments), do this on 100% of joints—it costs pennies per meter.
Q: Should I inspect every single bolt, or is sampling enough?
A: Sampling is standard and effective. Inspect 10% of bolts per lot for grade marking, thread condition, and length. For torque-tension, test 5% from each batch. If more than 2% fail, test the entire lot. We’ve seen counterfeit 10.9 bolts that were actually 8.8—only a torque-tension test reveals that.
Q: How does the QA program differ for hopper bottom vs. flat bottom silos?
A: Hopper bottom silos have more complex geometry—check the cone angle (typically 60° for mass flow) and the weld quality on the discharge flange. Flat bottom silos focus more on wall panel radius and stiffener alignment. Both require bolt hole inspection, but hopper sections need additional verification of the transition ring flatness (<3mm over 1m).
Looking for Professional Silo Storage Solutions?
We provide customized design, manufacturing, and installation services for steel silo systems worldwide.
Get Your Free Technical Consultation →