


Storing grain with moisture content just 2% above the safe threshold can cut your safe storage period by over 50%—turning a profitable harvest into a moldy, unmarketable loss in weeks. Understanding and controlling moisture isn’t just a good practice; it’s the single most critical factor in preserving grain quality and preventing catastrophic spoilage.
Key Takeaways
- Core Data Point: For corn stored at 25°C, increasing moisture from 14% to 16% reduces safe storage time from roughly 6 months to just 30 days.
- Best Practice: Always dry grain to the recommended moisture content for your specific crop and storage duration before loading into a silo.
- Risk Alert: Relying solely on a single moisture reading from the top of the bin is a common mistake—moisture migrates and varies within the silo, creating hidden hot spots.
The Physics of Moisture: Why Wet Grain Spoils Fast
Grain is a living organism, even after harvest. It respires, consuming oxygen and producing heat, water, and carbon dioxide. The higher the moisture content, the faster this respiration rate. At 12% moisture, respiration is minimal—grains are essentially dormant. But at 18% moisture, respiration rates can increase tenfold, generating enough heat to create a self-sustaining cycle. That heat drives more moisture from the grain into the air between kernels, raising the local relative humidity to 90% or more—prime conditions for mold spores to germinate. Within days, you can have a visible mold bloom, caked grain, and a musty smell that ruins market value. This isn't theoretical; I've seen a 5,000-ton flat-bottom silo of wheat go from perfect to completely blocked discharge in three weeks because a wet layer was loaded in the center.
The real kicker is moisture migration. Warm grain in the center of a silo releases moisture as vapor. That vapor rises, hits the cooler grain surface near the roof, and condenses. Over weeks, this creates a wet ring of grain at the top, often 4-6% higher moisture than the rest of the bin. This is why you can have a dry core but still get a crusted, moldy top layer. Aeration systems must be designed to push cool, dry air upward to equalize temperature and carry away that moisture, but they’re only effective if you understand the dew point and ambient conditions. In humid climates, running a fan on a damp night can actually add moisture to your grain.
How to Determine Safe Moisture for Your Silo Setup
There’s no universal "safe" moisture number—it depends on grain type, storage temperature, and how long you plan to hold it. For corn, 15% is borderline for winter storage (below 10°C), but you need to drop to 13-14% for summer storage. Soybeans are trickier: they’re more fragile and prone to splitting, so target 11-12% moisture and handle them gently. Wheat and barley can be stored at 13-14% if you have good aeration. The rule of thumb I’ve used for 15 years is simple: for every 1% moisture above the recommended level, cut your safe storage time in half. If you’re storing for more than 6 months, always dry to the lower end of the range. A professional manufacturer can help you size a dryer and aeration system to match your harvest rate and climate.
Using aeration to manage moisture gradients
Don't just install fans—design a system. You need enough airflow (0.1 to 0.2 cfm per bushel for natural air drying) and a control strategy. Run fans only when ambient temperature is at least 5-10°C cooler than grain temperature and when relative humidity is below 65%. A simple timer won’t cut it; use a controller with temperature and humidity sensors. I’ve seen too many operators burn through electricity running fans in humid conditions, actually increasing moisture in the bottom layers.
Common pitfall: ignoring moisture at the bottom cone
In hopper bottom silos, fines and broken kernels settle in the center of the cone. This material has higher moisture and less airflow resistance, so it spoils first. If you don’t clean your grain before storage or fail to core the bin (remove the first few tons from the center), you’ll get a blocked discharge and a pile of rotten grain. Always core after filling, and consider a hopper bottom silo for storage and drying with a center sump to remove fines.
Moisture Monitoring: Tools and Techniques That Actually Work
Handheld moisture meters are fine for spot checks, but they’re not enough for a 10,000-ton silo. You need continuous monitoring: install cables with sensors at multiple depths (top, middle, bottom) and at least three radial positions. The data should feed into a system that alerts you to temperature rises of 2-3°C per day—that’s the first sign of a hot spot from moisture-related spoilage. I recommend taking manual samples from the aeration ducts or using a grain probe every two weeks, especially in the first month after storage. Compare those readings to your cable data; if they diverge, you have a calibration or placement issue. For high-value crops like malting barley, consider near-infrared (NIR) sensors for real-time moisture readings during loading. They’re expensive but pay for themselves by preventing a single spoilage event. Also, don’t forget to check your concrete foundation hopper bottom silo for moisture ingress from the ground—a vapor barrier under the floor is non-negotiable.
Frequently Asked Questions
Q: Can I store wet grain temporarily if I run aeration continuously?
A: Only if you have a very high airflow system (0.5 cfm/bu or more) and the ambient air is cool and dry. Even then, you’re buying days, not weeks. Wet grain at 18% moisture will start to heat within 24-48 hours. The safest approach is to dry it immediately. Aeration is for maintaining quality, not fixing a wet load.
Q: What’s the best way to take a representative moisture sample from a full silo?
A: Use a deep-bin probe that can reach at least 10 feet down. Take samples from the center, midway to the wall, and near the wall at three different depths. Mix them in a sealed bag and test immediately. Never rely on a single sample from the top—moisture stratification is almost guaranteed.
Q: How does moisture content affect my silo’s structural load?
A: Wet grain is heavier—about 10-15% more density than dry grain. This increases the lateral pressure on the silo walls and the vertical load on the foundation. If you’re filling a flat bottom silo with strong roof support, ensure the design accounts for the maximum expected moisture content. Overloading a silo with wet grain can cause wall buckling or foundation settlement.
Q: Is it true that drying grain too fast can cause cracking?
A: Yes. Rapid drying with high heat creates a moisture gradient inside each kernel—the outside dries and shrinks while the inside stays wet and expands. This causes stress cracks, especially in corn and soybeans. Cracks reduce test weight, increase breakage during handling, and make grain more susceptible to mold. Use a staged drying process: keep the temperature differential between the drying air and the grain below 10-15°C.
Q: What’s the ideal relative humidity inside a silo for long-term storage?
A: You want the intergranular air to stay below 65% relative humidity at the grain temperature. That corresponds to a moisture content of roughly 13-14% for most cereals. If your aeration system is pulling in humid air (RH above 70%), you’re adding moisture. In coastal regions, consider using a dehumidifier or only running fans during dry periods.
Q: How often should I check moisture in a silo that’s been sealed for months?
A: At least every two weeks during the first month after filling, then monthly thereafter. Always check after a temperature swing (like a cold front) because moisture migration accelerates. If you have in-bin temperature cables, set an alarm for a 2°C rise in any zone—that’s your early warning for a moisture problem.
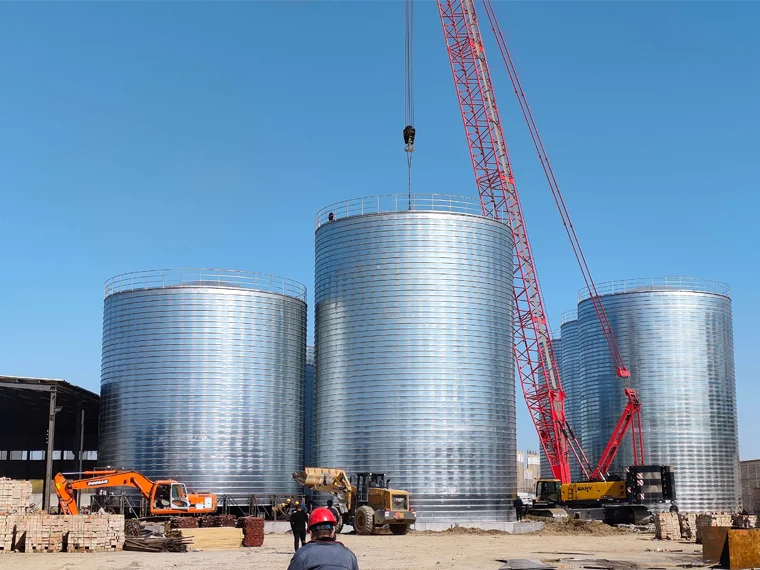
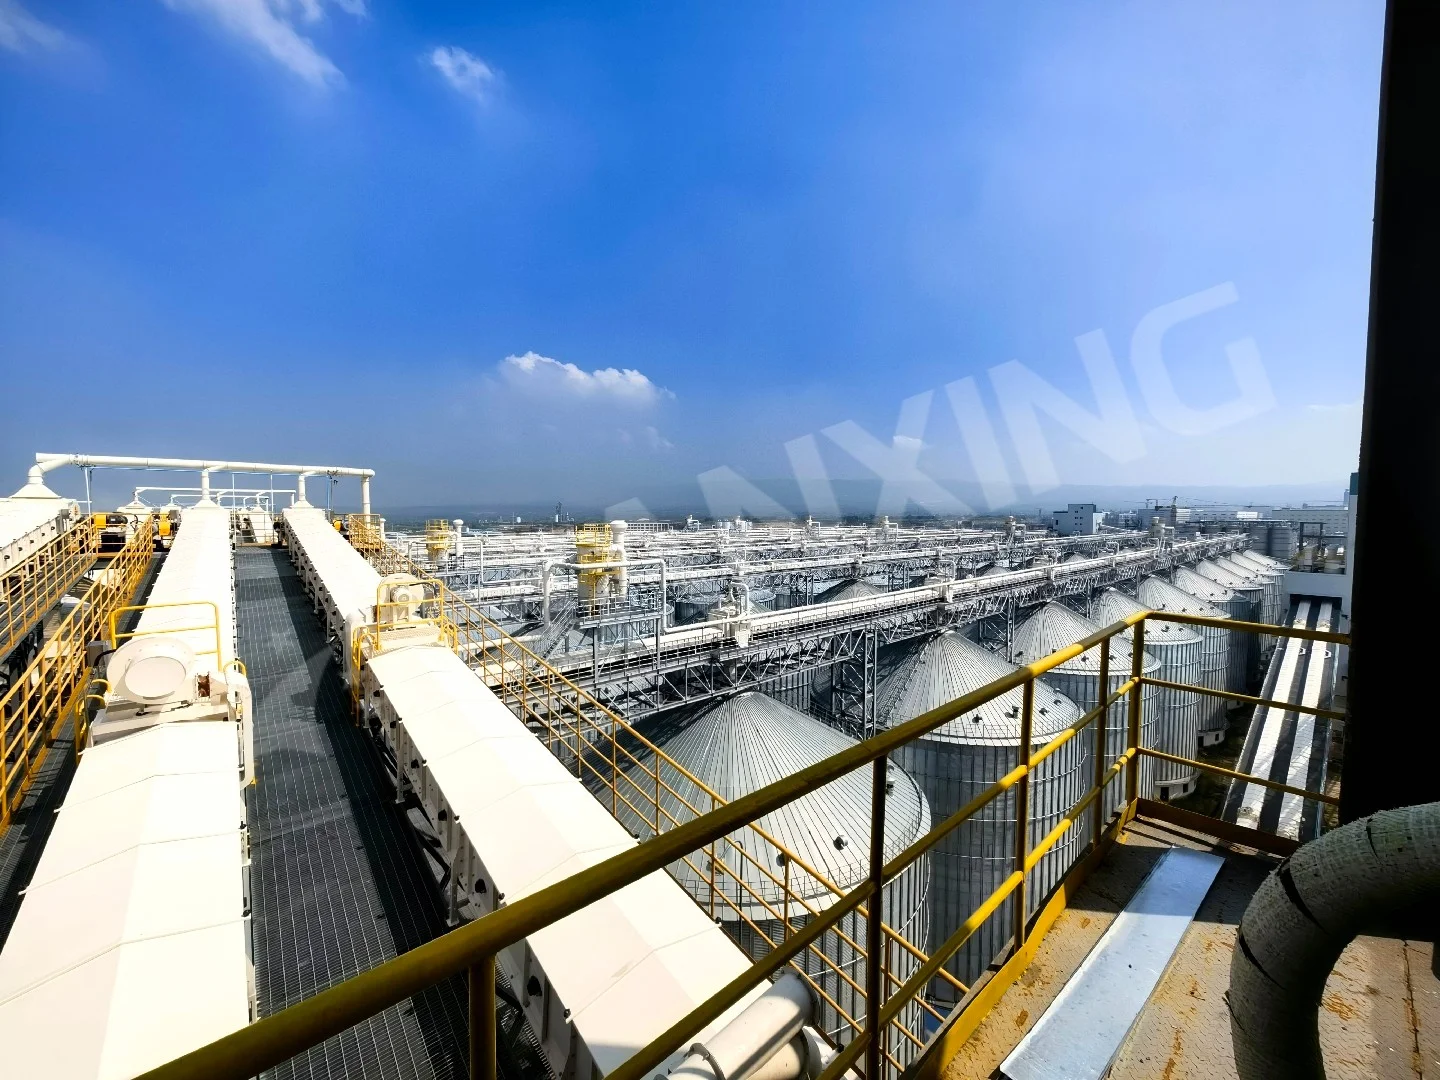
Looking for Professional Silo Storage Solutions?
We provide customized design, manufacturing, and installation services for steel silo systems worldwide, including integrated aeration and moisture monitoring systems tailored to your crop and climate.
Get Your Free Technical Consultation →